 |
|
|
 |
 |
Thunderbird: Create An Account
- Start Thunderbird.
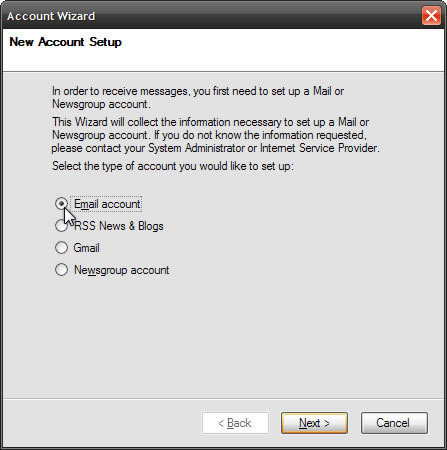
If you are setting up Thunderbird for the first time you should see the following screen.
Alternatively, use the Thunderbird menu bar and select File, New, then click Accounts.
Select "Email account" and then click Next.
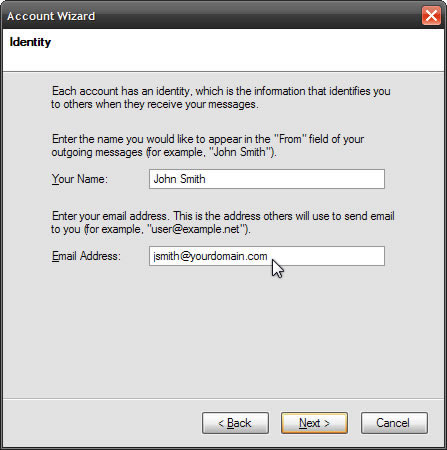
- Type your name as you want it to appear to people receiving email from you.
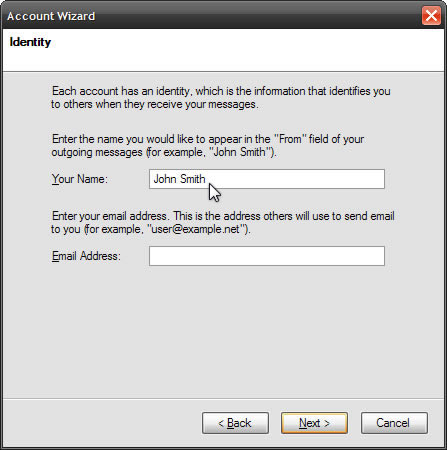
- Type your email address. Click Next.
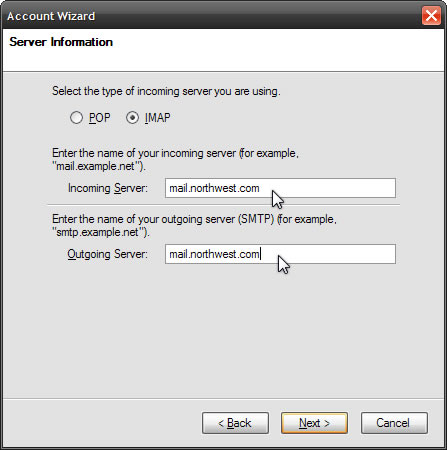
- Select IMAP for the incoming mail server.
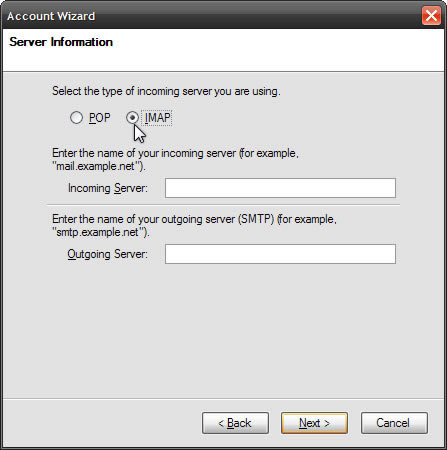
- Enter mail.northwest.com for both the incoming and outgoing mail servers. Click Next.
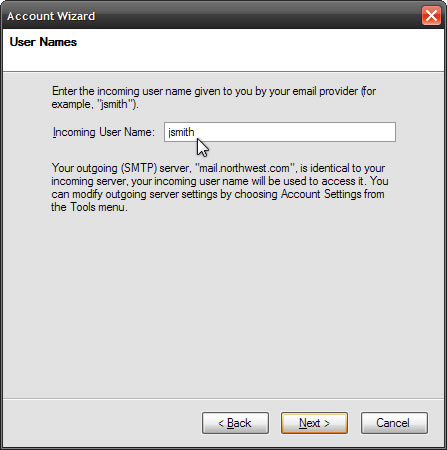
- Verify your user name.
Your user name is that part of your email address which preceeds the "@" sign. For example, if your email address is jsmith@yourdomain.com, your user name would be jsmith.
Click Next.
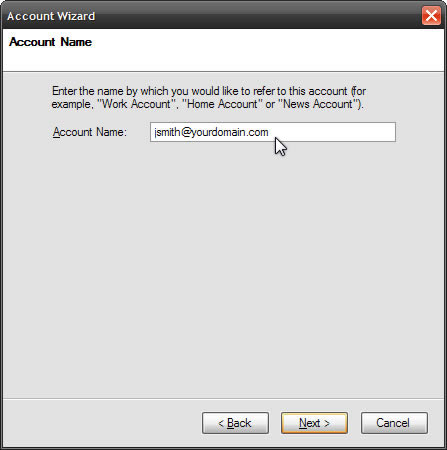
- Enter an account name or accept the default given. Click Next.
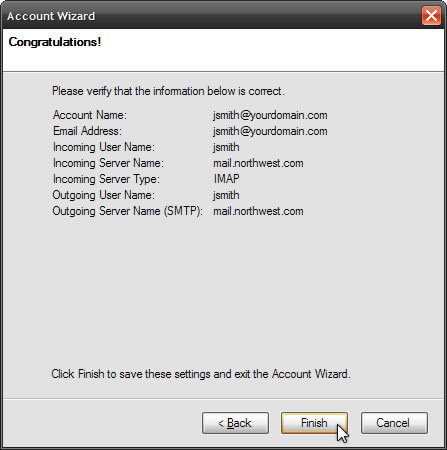
- Verify that the information entered is correct and click Finish to set up your account.
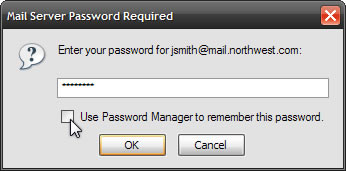
- Enter your password at the prompt. Check "Use Password Manager to remember this password" if you don't want to be prompted each time. Click OK.
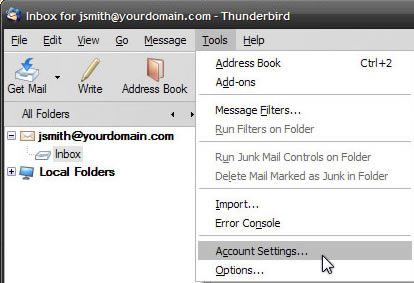
- Set up your outgoing server authentication.
From the Thunderbird menu, select Tools and click Account Settings.
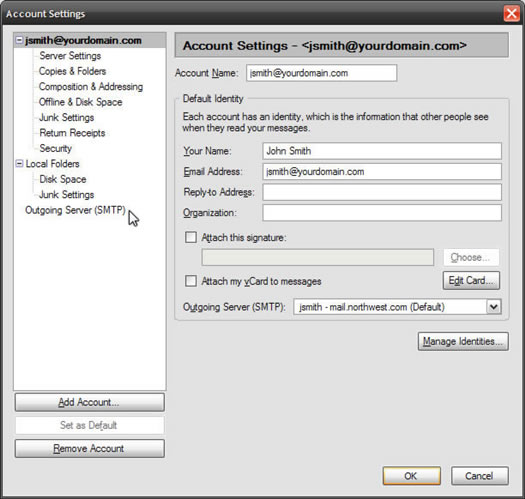
- Click "Outgoing Server (SMPT)" to display outgoing server settings.
- Select the account you wish to edit then click Edit.
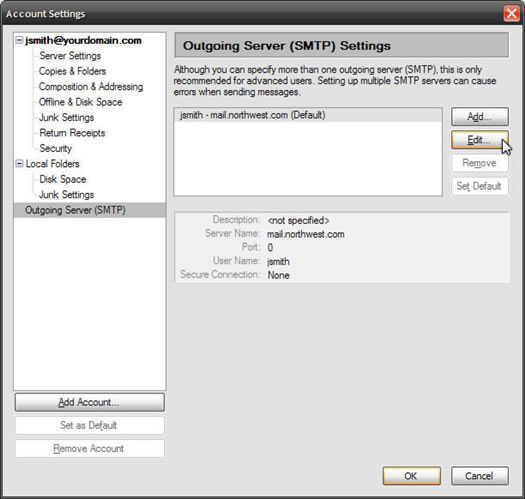
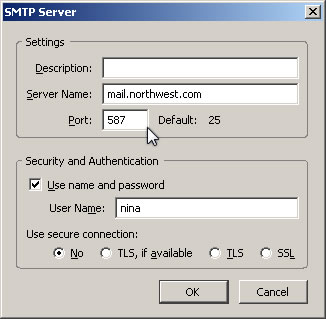
- Under Security and Authentication, verify that "Use name and password" is checked, "Use secure connection" is set to no, and that User Name is properly filled in with your user name. Click OK.

- If prompted, enter your password and optionally check "Use Password Manager to remember this password." Click OK.
- Check if your email account is working.
Send an email message to a friend. Have them reply to your message. If they receive your message and you receive their reply, your account is set up correctly. Congratulations!
- Note: If you are a Comcast customer or using a dialup connection and find that you can receive but not send email, you will need to change your Port setting. Repeat Steps 10 through 12. The SMTP Server dialog is displayed. In the Settings panel change the Port to 587. Again verify that "Use name and password" is checked, "Use secure connection" is set to no, and that User Name is properly filled in with your user name. Click OK.
|
|
|